Product Review: Nuvo Cabinet Paint

As we mentioned in last month’s blog post, we often tell occupied home staging clients that updating their home will help with the sale. One update that has a big visual impact is the cabinets! Now, I’ve already painted our kitchen cabinets when we moved in. That said, recently I have been eyeing some beautiful navy cabinets on Instagram. Alvin was not on board with painting our kitchen cabinets again (who could blame him?!) but the bathroom cabinets were fair game!

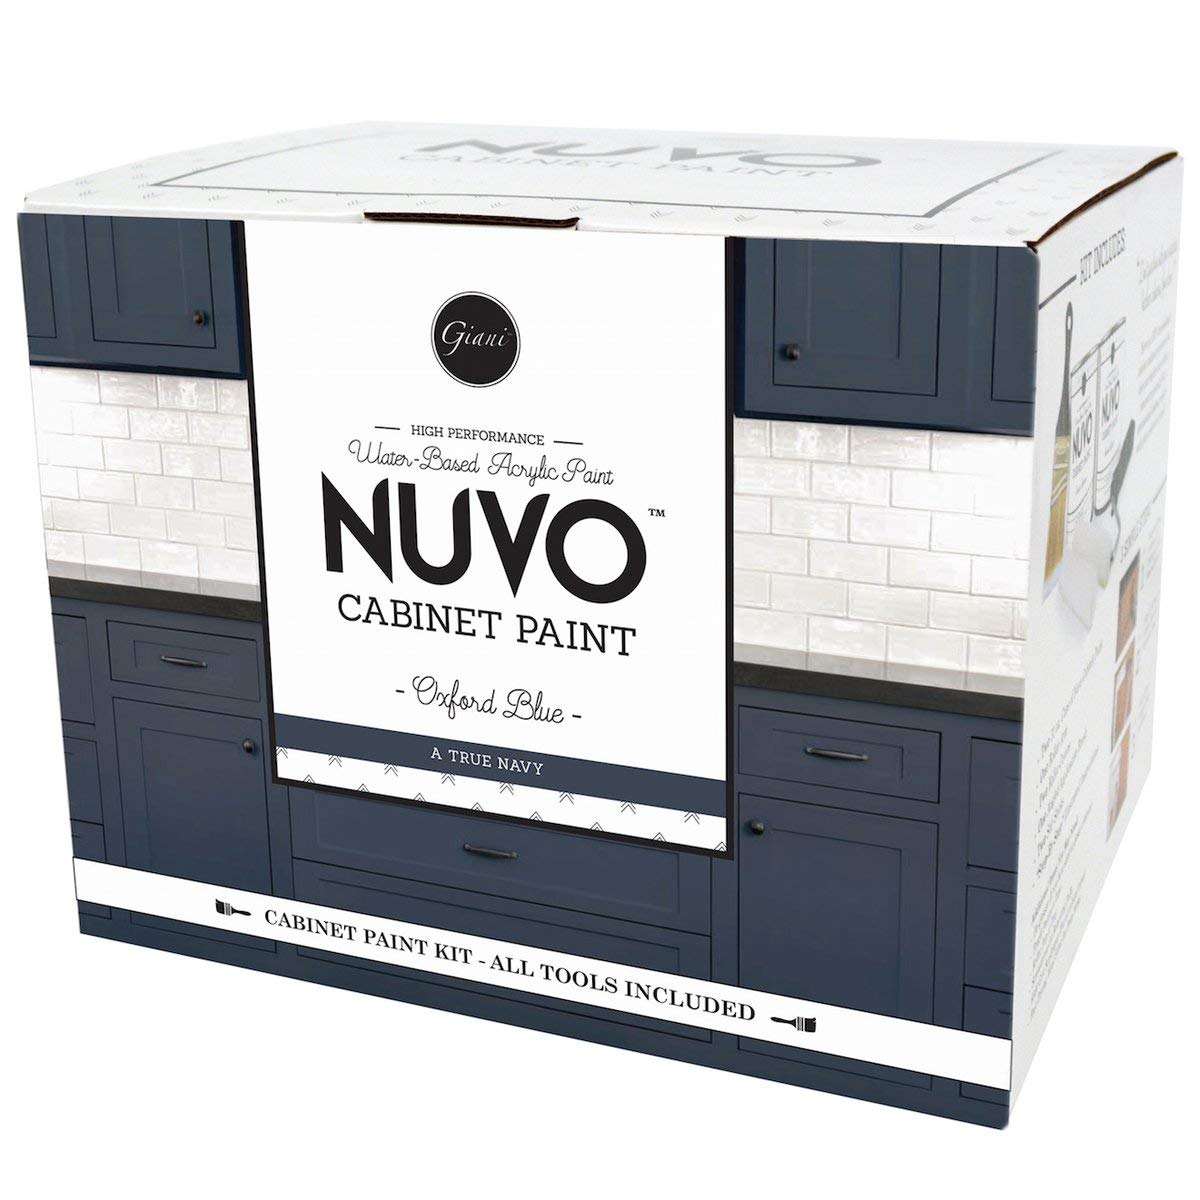
There is this product on Amazon that I recommend to our clients who could benefit from a cabinet update but don’t want to (or can’t afford to) install new cabinets or have them professionally painted. It’s called Nuvo Cabinet Paint. It comes in multiple different colors, all of which are currently popular for cabinets and claims you can complete an entire kitchen in a weekend or less. I went with Oxford Blue for a bold look in our small space.

Nuvo Cabinet Paint.jpg

The kit comes with everything you would need, but I already had a ton of painting tools except the paint so I just ordered the single quart. I used our mouse sander on the old cabinets to give the paint a rough surface to cling to. It’s worth noting that the bathroom cabinets had a laminate surface, which made me a bit nervous that the paint would chip right off. You can see below what we started with.

IMG_7832.jpg

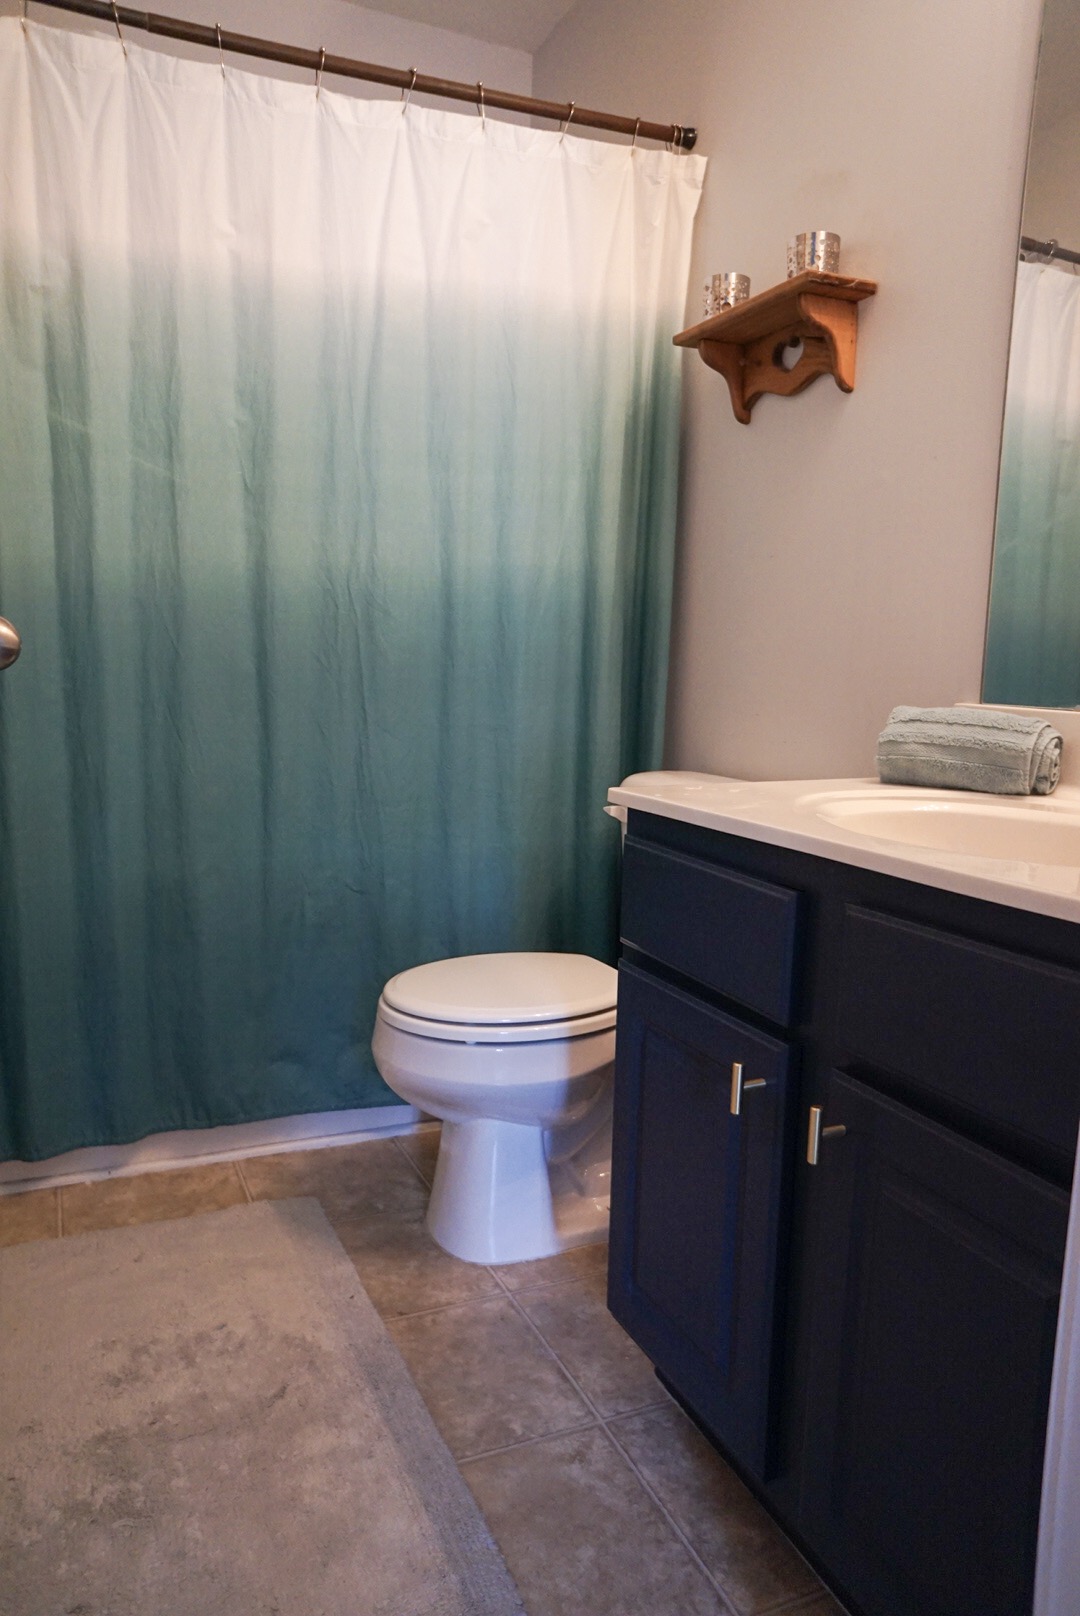
Luckily, the little bit of sanding I did did the trick! In just an hour we had brand new (looking) cabinets! This includes the time I spent sanding and removing the hardware. The paint dried quickly so I was able to apply the second coat as soon as I finished the first one. Based on this timing, it seems completely reasonable to think you could complete a kitchen in a weekend. I’m also happy to report that it has been several weeks since I completed the painting portion of the project and there have been no chips! Ta-Da!!

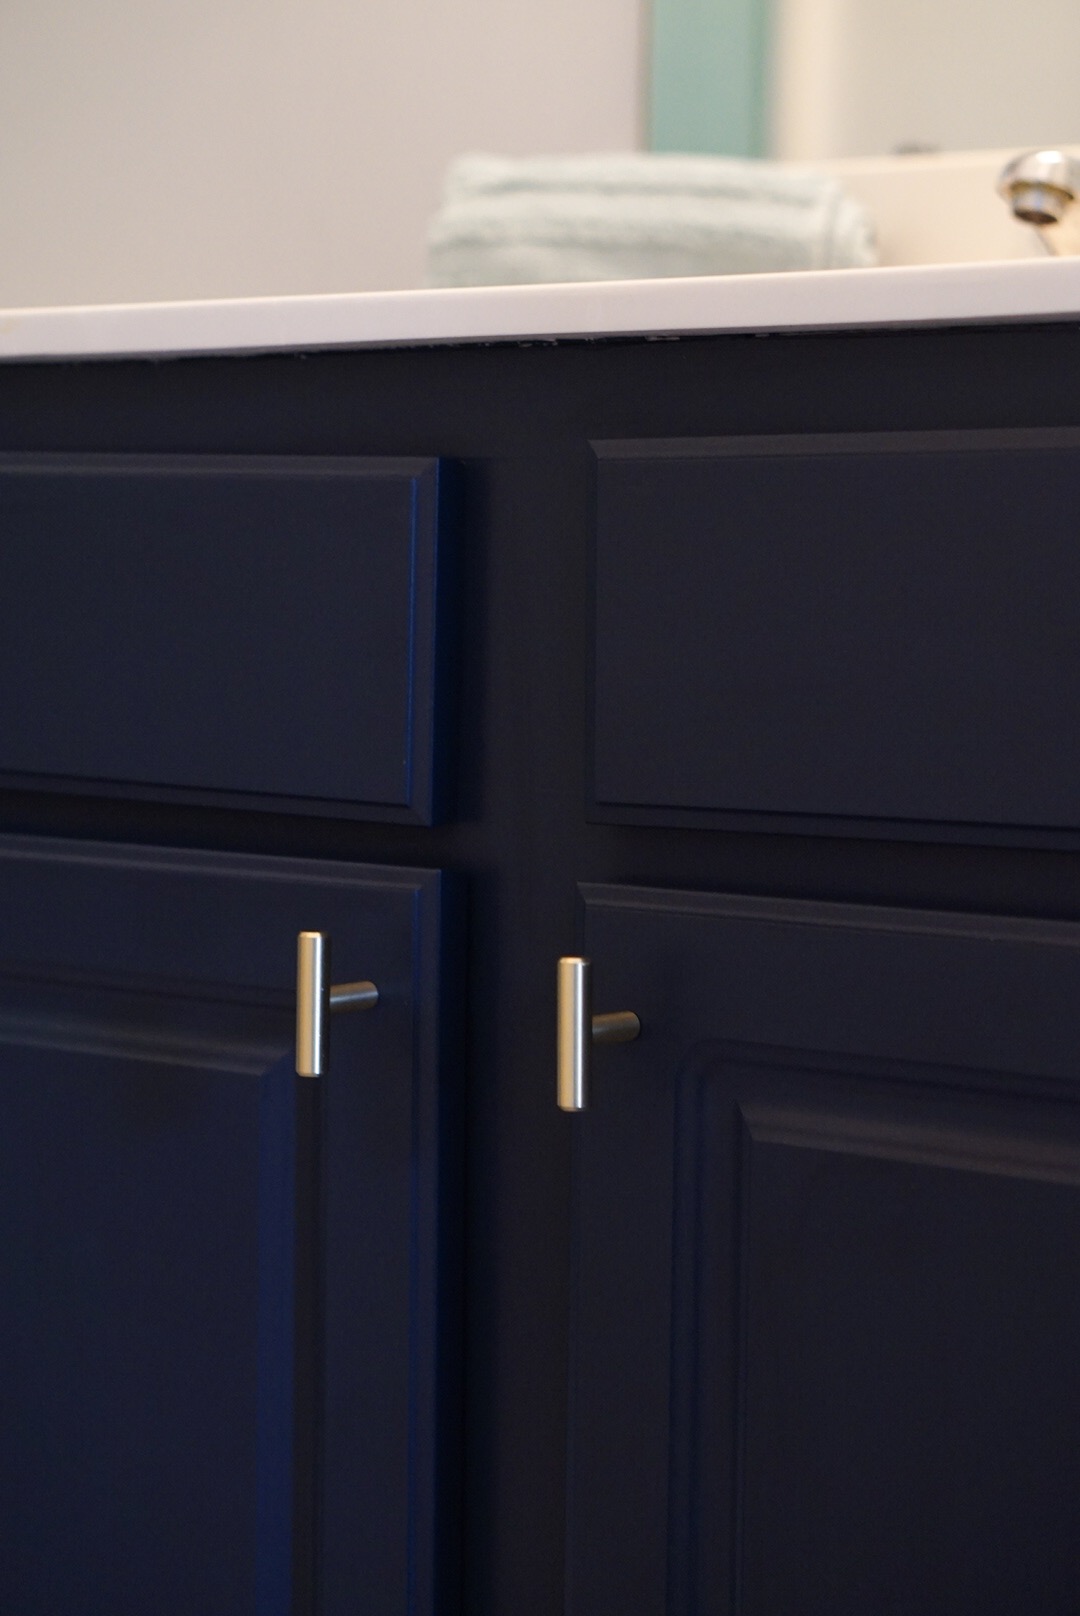
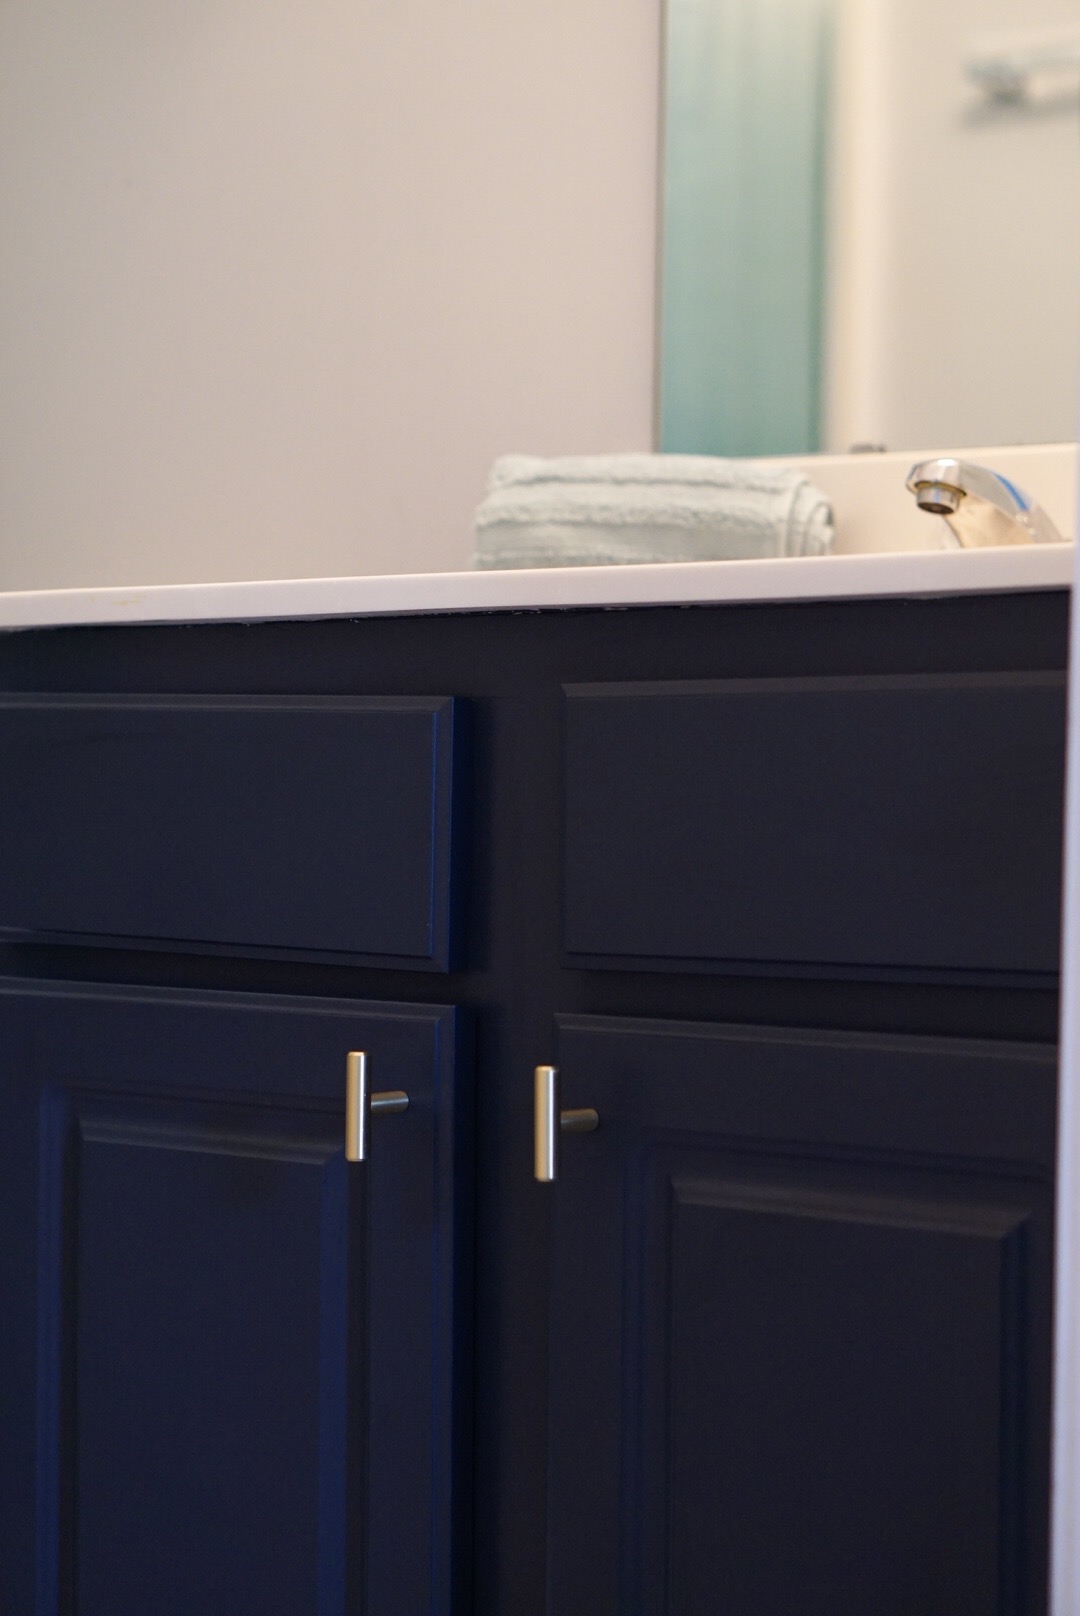
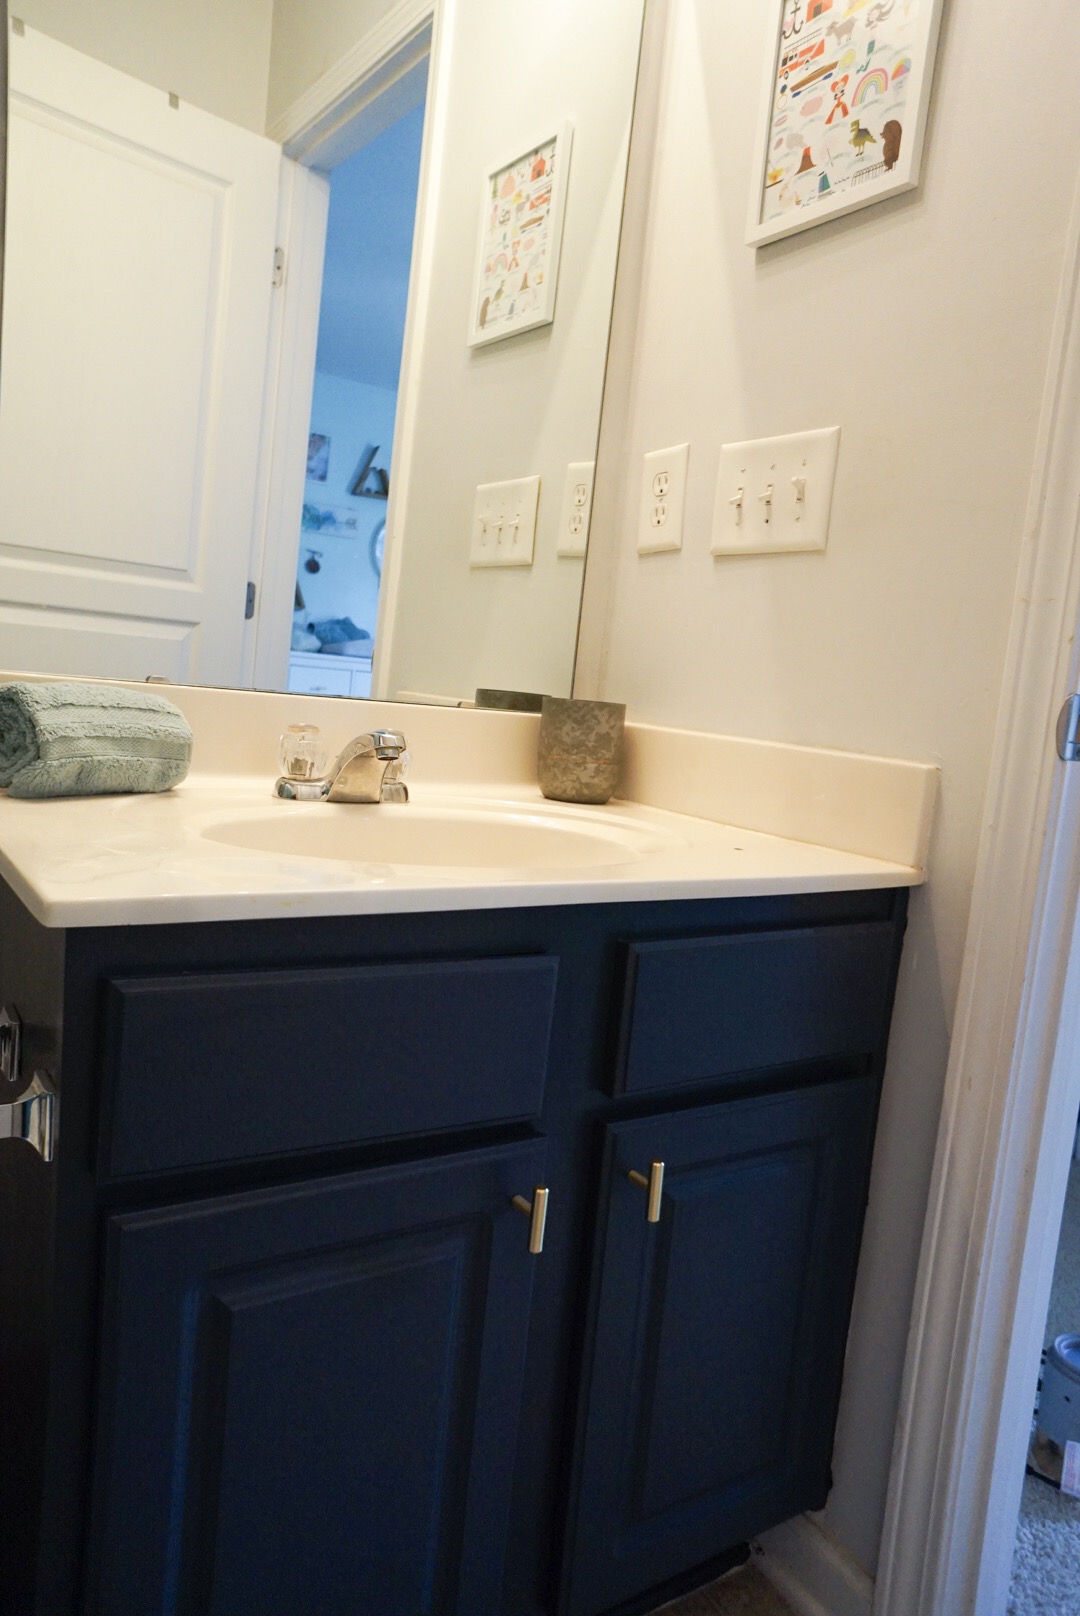
Since I wanted a more complete updated look, I also added new cabinet pulls. I ordered these ones from Wayfair and LOVE them. I’ve also added them to Atti’s dresser and our bathroom cabinets. Eventually I will be painting our cabinets with the Nuvo paint as well.

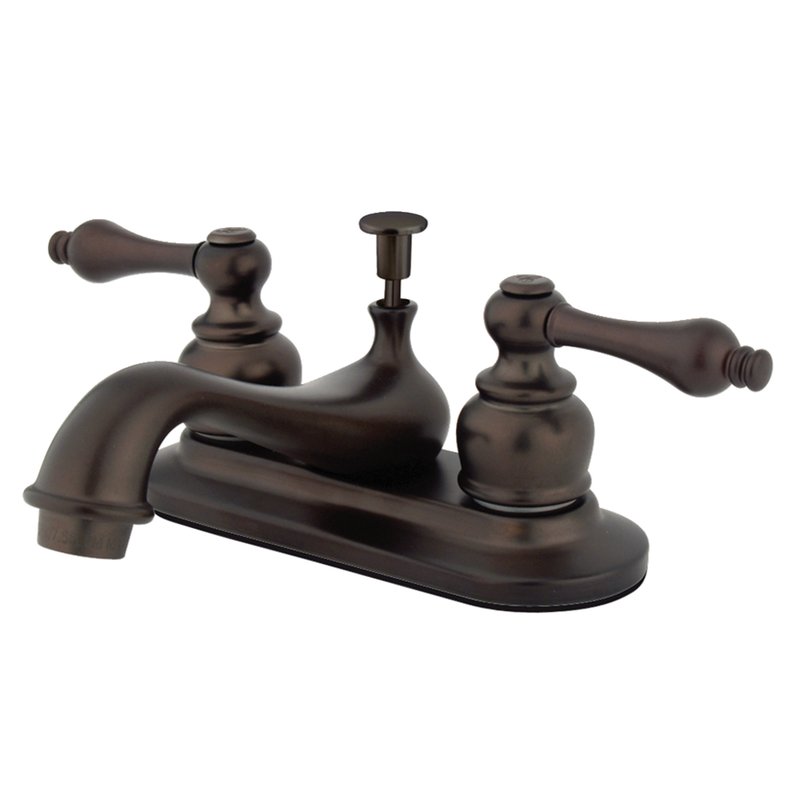
Other updates I’ll slowly chip away at are vanity lights, faucet, and new vinyl tile. These are the ones I’m currently eyeing.

If I were to break the costs down it would be:

  1. Paint: $32 (covers both bathrooms)

  2. Knobs: $1.80 a piece, $3.60 total for this bathroom

  3. Floor Tile: $1.20/sf, ~$20 total for this bathroom

  4. Faucet: $56

  5. Vanity Light: $84

  6. Total: $195.60


Overall, not bad! This is a very budget friendly way to give your cabinets and bathrooms a quick update whether you’re planning on listing your home or loving it!

DIY Concrete Countertops

I know I said we were going to do butcher block counters, but then I thought about a few things. First being we're paying for a wedding so is paying thousands for new counters really a priority this year? Second being we already have a lot of natural woods in our home and I didn't want to stress about the counter wood matching other décor woods. Then I discovered there's a concrete overlay product you can put right on top of the laminate. Say what?!

Immediately I loved the idea of grey counters with our new white cabinets. Added bonus, this DIY really wasn't too difficult and it came in under $200. In case you forgot, here's what the kitchen looked like before we did anything.

Here's what it looked like after the cabinets were painted. Better but I still hated the counters(and backsplash, that's next).

And here it is with a brand new concrete counters! Ta-Da!

7708 Winners Edge 2.jpg

I won't post much of a how-to because we followed Young House Love almost to a tee. Here's there post on how to do it. The only differences are that we used Henry's Feather Finish because we could pick it up at Home Depot and I can get too excited about projects to wait for shipping. Our counters did turn out a bit darker than theirs look and I wonder if the Henry's is darker or if we did something else different.

Pro tip: If you are planning on selling your home soon I highly recommend this project if you need to update your kitchen on a time crunch and on a budget. Worried buyers won't like the concrete look? I get that. But I know more people will like the trendy concrete over the dated laminate.

We also did super small batches and worked slowly to make every layer as smooth as possible. Minimal sanding needed. Roughly one cup of mix and 1/2 cup + 2 tbsp. water was just the right amount of concrete mix for us o be able to take our time and still use it all before it hardened in the bucket.

The final difference is that we didn't wait a full 24 hours between coats. I believe the shortest time between layers was six hours and it turned out fine. We were trying to get it all completed before I left for my Cali trip.

We did the sealant just like they did. Honestly this project only takes so long because there's a lot of waiting between coats of concrete and sealant coats. But totally worth it. I can't say I'll never end up with different counters but I can say these new counters are MUCH better than the laminate.

Next on the list, backsplash! Although the tear in our (clearly) cheap laminate flooring means new floors are coming soon too! Careful moving those stoves during these projects, guys! :o