Our Nursery

So I’ve been a bit busy. Both the business and I grew this year! I’m hoping to get back into the swing of things, starting with blogging a bit more. What a better way to get started than with the nursery I designed for our new little one?!

Last fall, before even becoming pregnant, I decided I wanted our future nursery to have a gradient mountain wall. Boy was that a beast of a project! It took multiple weekends but I love how it turned out. It gives this room a bit of whimsey and magic. At least, I hope that’s how Atti will feel about it one day.

His room is huge. Seriously, massive. I wanted to take advantage of all that floor space so it can one day double as his playroom. Hence shelves. These Lack shelves from IKEA help keep things off the floor. There are also cube shelves in his closet for extra book and toy storage.

IMG_6244.JPG

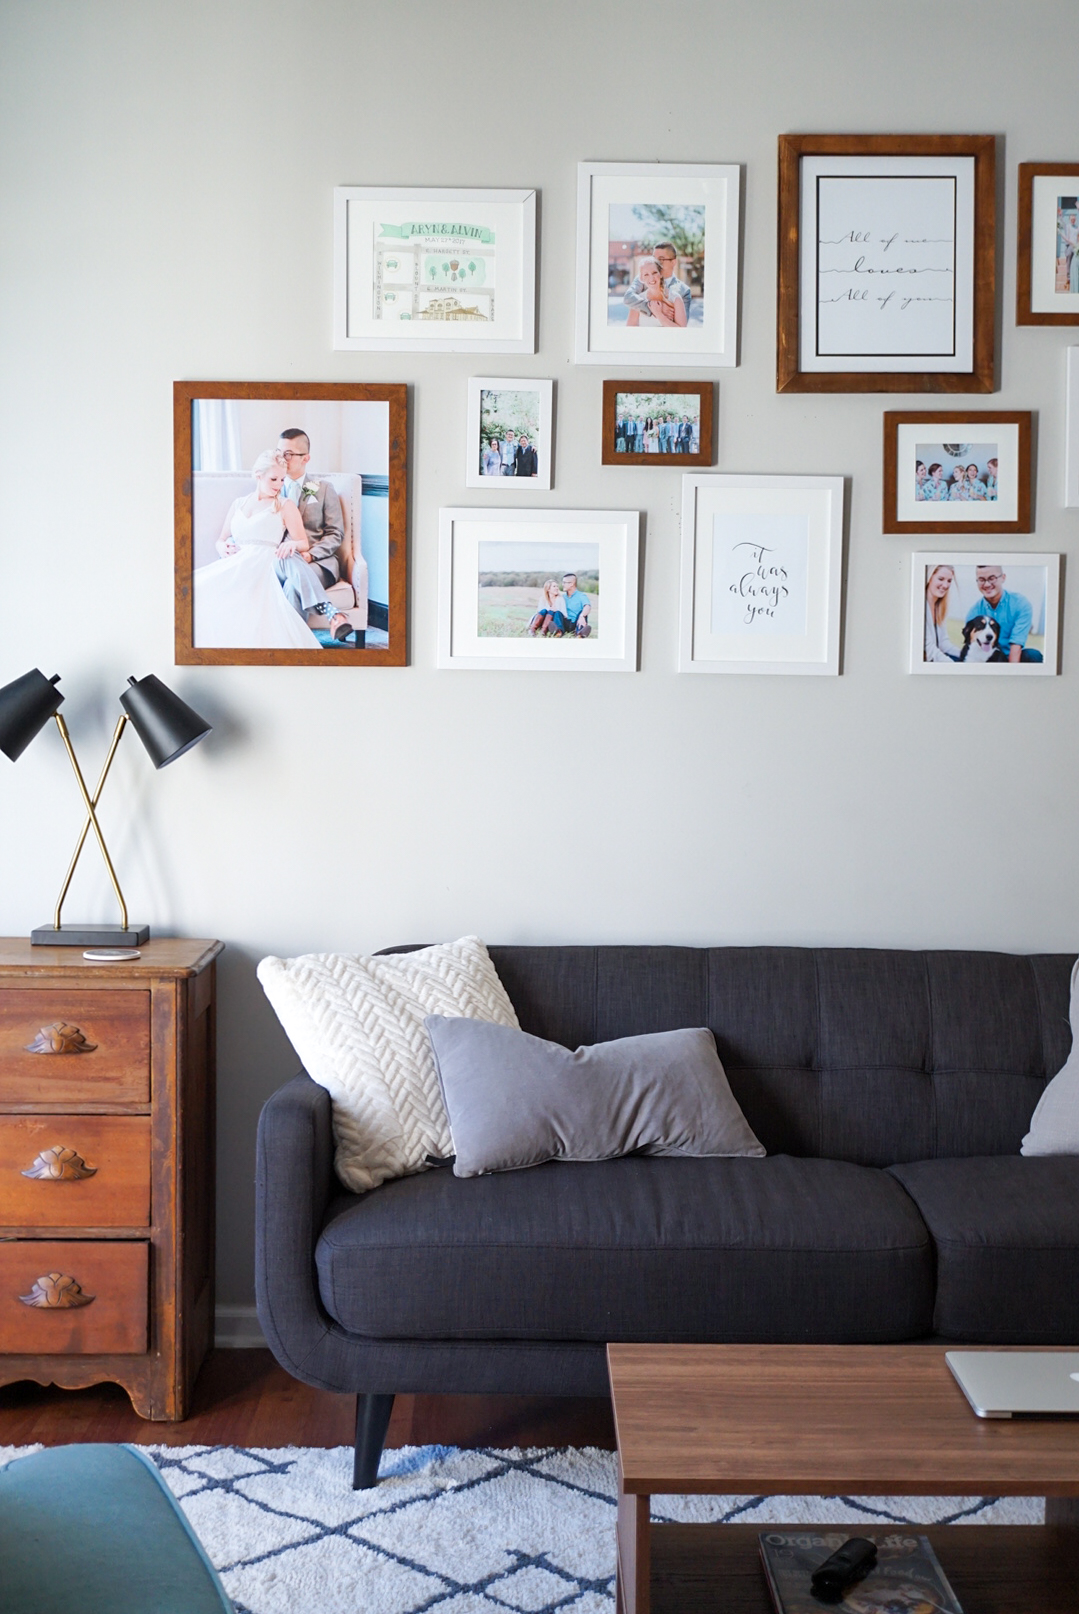
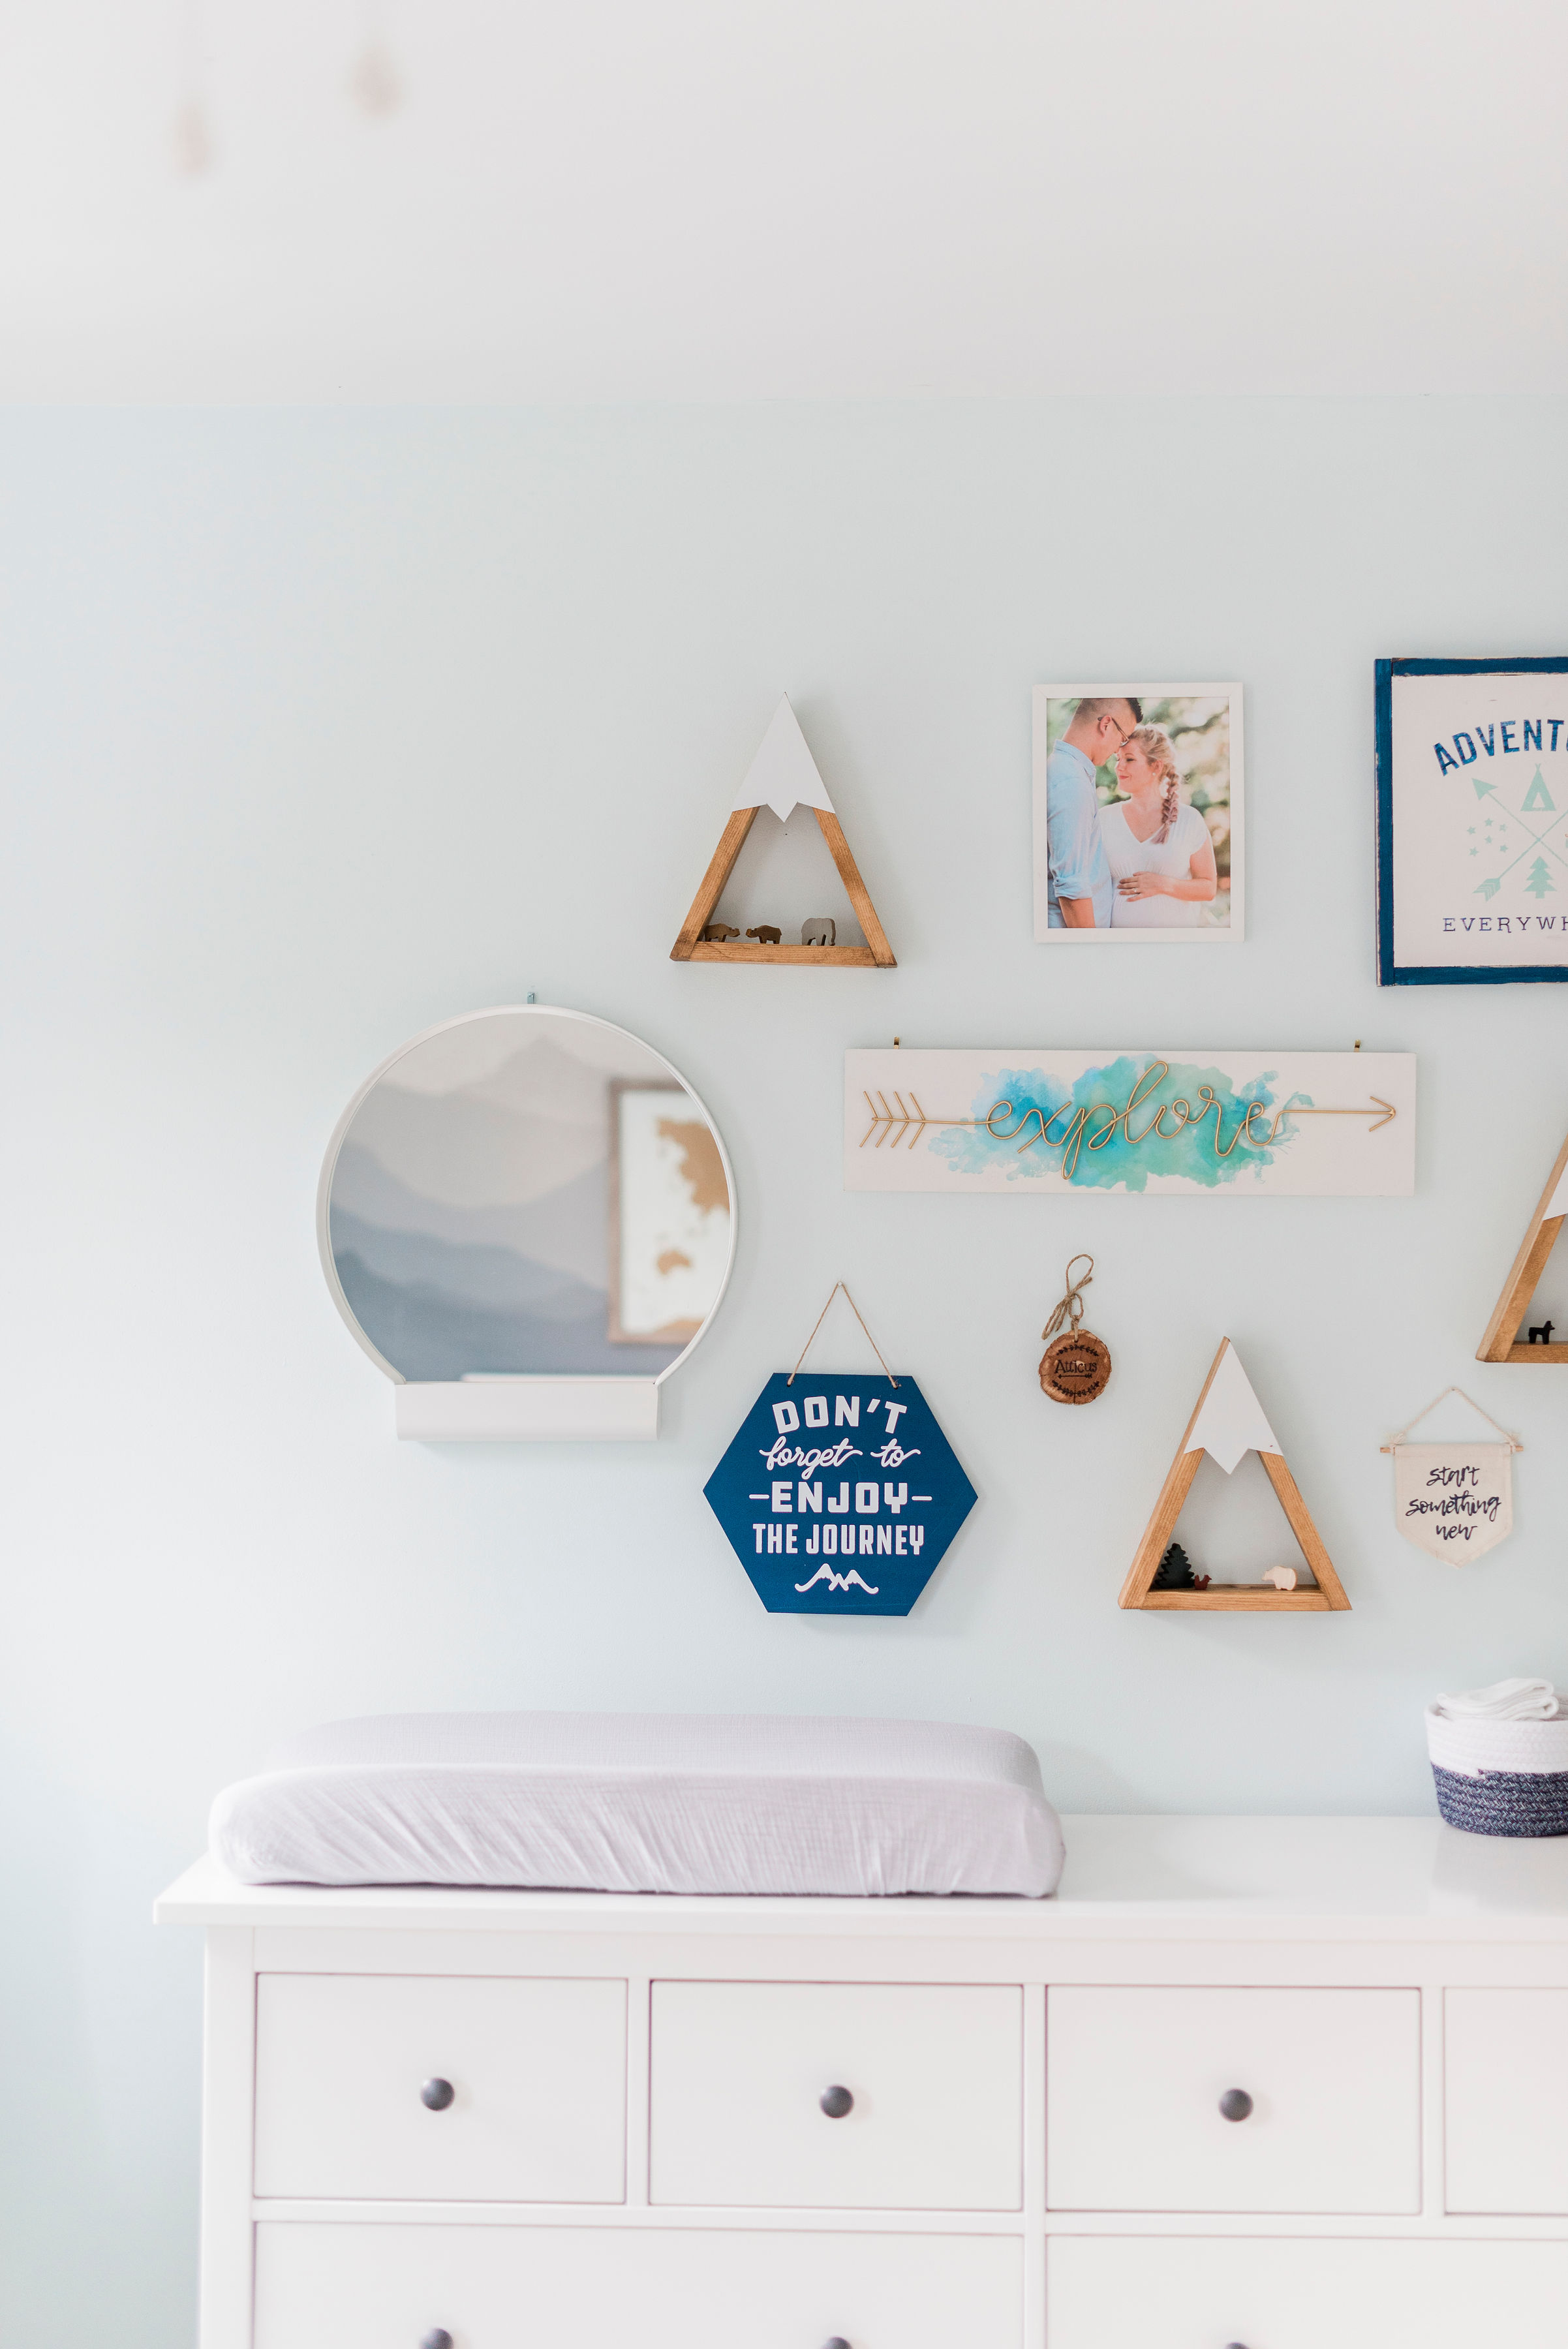
Of course for me, his room wouldn’t be complete without a gallery wall! This one went MUCH better than the one in our living room. I followed my own advice and used paper cutouts of each item to design it all before hammering a single nail.

All of that extra time in the planning process really paid off. We absolutely adore his gallery wall and all of the pieces that became a part of it. Those mountain shelves? His grandma bought them from Etsy, and they are filled with wooden toys that were hers when she was a child. There’s a sign my best friend got him. A sign I picked up from a local shop. And one of our dear friends hand lettered his name onto a slice of wood!

Dresser: IKEA HemnesMountain Shelves: Etsy

Dresser: IKEA Hemnes

Mountain Shelves: Etsy

Air Plant Holders: Etsy

Air Plant Holders: Etsy

However, after all of that, my favorite thing in this room is the rocking chair. Mr. Rocking Chair is his name. That’s right, he has a name. There are photos of my mom being rocked in Mr. Rocking Chair when she was a little girl. It warms my heart that now my son is also being rocked to sleep in the same spot.

Of course, I couldn’t miss out on a little modern flair with those hanging air plants. For me, this room is a wonderful combination of old and new.

It’s our hope that this room will inspire Atticus to never stop exploring.

Photos by Luxe & Pine Photography

What Not To Do When Creating A Gallery Wall

I didn't realize some of these frames were crooked until I was editing. The perfectionist in me is literally twitching, haha

I didn't realize some of these frames were crooked until I was editing. The perfectionist in me is literally twitching, haha


     I had every intention when we started this gallery wall that I was going to write this fabulous "How-To" for big gallery walls. Um, three days and roughly eight collective hours later, I realized I was so naive. So just like How To Lose A Guy In 10 Days, I'm reverse how-to(ing) this. 

    I started this process quite awhile before we purchased anything for it. I'd like to think I did the first few steps correctly. I picked a frame that was simple and would be uniform across the entire wall. I picked a few big pieces that we would work around. Finally, waited for wedding photos before beginning because I knew I wanted it to be all about us. 

    Then, Michaels had a HUGE sale on the frames I wanted. We went to two separate stores and still ended up with two different colored frames. A dark wood and a white. I decided to come to terms with this, even though I knew I will eventually want all the same shade. Luckily, the Belmont frame from Michael's doesn't seem to be going anywhere anytime soon. 

    So, now that we've cleaned out both of the Michael's of their remaining white and dark wood frames, we headed home happy. Ok, I was happy. Alvin was agitated that he went to decor stores after a work day. As soon as we got home, the high of the deals had me instantly moving our coffee table to make room on the floor to start creating the layout. 


Creating the layour was messy work. 

Creating the layour was messy work. 


    After creating a beautiful layout that I adored while it was on the floor, I measured the width and height to give us some parameters on the wall. We used painters tape to mark the height parameters but I decided pretty quickly that I wanted the gallery to be a bit wider than it was on the floor. In my excitement/Friday night exhaustion, I didn't think through the problems widening it might cause. This is mistake #1


IMG_8548.jpg


    So we put them all up, roughly where they were on the floor. I say roughly because mistake #2: we didn't measure between the frames as they were on the floor. Not that it would have mattered since I widened the space anyway. Are you following this domino effect of mistakes?  


All the frames at the bottom were driving me nuts! 

All the frames at the bottom were driving me nuts! 


    Frustrated and tired, we call it a night. In the morning, it becomes obvious that there are weird gaps that weren't there before. That afternoon, I try rearranging it a bit. Just moving frames a bit to the left here, a bit to the right there. But overall keeping the same design as had been on the floor. Mistake #3. I should have realized that the shape on the floor only looked that good because of the width parameters. The only thing we accomplished on day two was creating lots and lots of little holes in our wall. Seriously, it looks like someone took a machine nail gun to it.  


End of day 2, contemplating my life decisions. JK, I was trying to solve the puzzle.

End of day 2, contemplating my life decisions. JK, I was trying to solve the puzzle.


    So on day three, I decided I still loved the height. And I picked two edge frames that I wanted to be the furthest points. Then we moved nearly everything else around. We ended up with two fewer frames than originally intended because once it was on the wall, I liked having the negative space. Here's the final product! 


So what can you learn from this post? 

1) Don't take shortcuts. We were so tired we thought we'd just hang them up "roughly" where they were on the floors (Actually this was Alvin but he was doing the hanging so I didn't want to fight him on it). Taking this "shortcut" ended up costing hours in rearranging times.

2) Use tape to mark parameters or even the shapes of each individual frame. It would have taken quite a bit of time to use tape to mark each individual frame (we have sixteen on this wall) but it's also going to take quite a bit of time to fill in all those holes from us moving the frames around.

3) Do your style research. I had a hard time finding a similar gallery wall to mine, in that we used clean modern style frames but did a large asymmetrical layout. However, if you're interested in a mismatched farmhouse wall or a super clean uniform wall, there are a lot of examples out there that you can browse through. Find what you do and don't like before starting to hang things. 

4) Don't be afraid to rearrange it. Sure, you may end up with a few holes. But those can be patched up! Accept that you made a mistake the first (or fourth) time around and just tweak it until you're satisfied. 

5) Know when to stop. This is especially tricky for perfectionists like me working on an asymmetrical gallery wall. Just know, that it's probably never going to be "perfect". But once it looks pretty to you, stop. Then just enjoy your beautiful work and photos! 


Shoutout to our wedding photographer Erin, of Luxe & Pine! We adore our photos so much we spent hours working on a gallery wall because we couldn't narrow down any further which ones we wanted framed and up on the wall! 

Shop Small Saturday: Luna Y Mar Creative

It's time for our bi-weekly Shop Small Saturday feature! I have been pretty excited about this one because it speaks to my inner modern boho! I'm always drawn to this carefree style I found Flo, the creator behind Luna y Mar, on Instagram. Her work instantly stood out and her style is perfection! 

IMG_5488.jpg


Flo started weaving a few years ago. However, she just started macrame and wall hangings recently, after moving from LA to Raleigh. Wanting something to do that she loved, she started Luna y Mar Creative. I admire that she turned to a craft when she wanted something new to do! Boy am I glad she did, too! Look at these! 


Photo From Luna y mar etsy shop

Photo From Luna y mar etsy shop

Flo says that what makes her stand apart is also what connects all creatives, passion. This is so true! Her choice in craft is a representation of the things she loves, home decor and boho modern! It's great when your craft and passion can reflect your style so perfectly. See what I mean about the perfection that is her modern boho style?

I think another thing that sets her apart is she's so kind and considerate! See that plant in there? She brought it along when we met up to be sure I would have a plant for it :) How sweet is that! I'm so glad she thought to do that since I completely ran out of time to plant the herbs I'd planned on! Shoutout to the kind people of the world! 

Photo from luna y mar etsy shop

Photo from luna y mar etsy shop

These wall hangings are the perfect combination of unique and trendy! I love that they are bright and feel so organic. They would be a perfect addition to a gallery wall or stand alone as a statement piece. I personally adore the plant hangers! I so wish I had more wall space in my kitchen. I can just imagine hanging three or four and growing my favorite spices right there on the wall! 

If you would like some of these great pieces of your own, you can check out her Etsy page here. If you want to follow her along and see what she's creating, you can check out her Instagram page here. If you are local, be on the look out because she's planning on being a part of some of the pop-up shops soon! 


If you would like your small home goods shop featured, please email me at hello@mintedspacesstyling.com . I love learning about new businesses!

Shop Small Saturday: Wordsky Designs

        It's time for another round of Shop Small Saturday! This one is extra special because I know Kyle and have been able to watch his company grow through social media. From the get-go I have loved his designs. I mean really, it's a local showing the city and state some love! It's perfection!

         I also love his story. It is like many other successful entrepreneur stories, only they don't all tell you about the failures. It's easy to forget that many of us fail over and over again before finding what works. That perseverance it what makes entrepreneurs! 

Kyle with one of his designs

Kyle with one of his designs

         Here's a bit of background. Almost a year ago, he got the idea of trying to make some coffee tables to sell.  In order to set himself apart, he put the outline of NC on the table tops. He sold three in total. He then had one table left, but couldn't sell it because the table top on it started to warp.  On that particular table top, he had painted in the NC flag inside the outline.  So, in a bit of ingenuity, he added some rope to the table top and made it a wall hanging instead.  Wall hangings became his new thing! 

           With his newfound inspiration he worked on new designs, eventually creating this Raleigh skyline. As he was waiting on that trademark for t-shirts, Hurricane Matthew flooded the house he was renting. You guys, if my house flooded I would be sorely tempted to call it quits! But Kyle took the need of moving back home and turned it into opportunity! He started messing around his his dad's shop and from there he decided to cut the Raleigh design out of wood and here we are!

The Raleigh Skyline

The Raleigh Skyline

          How cool is that?! Multiple times when he could have just thrown in the towel and called it a day. But he persevered and now his designs are in local spots all over town! You may have seen his wood cutouts in places like Raleigh Brewing or the home of your best friend. Point is, he and his designs are going places. 

         So what's all the fuss about? Um, these here awesome wood cutouts! It started with the Raleigh skyline but he takes requests and has produced some pretty impressive pieces. What makes his standout is that he does these all BY HAND using a jigsaw. No laser cut outs for Wordsky! They come in two different sizes. That one above my desk (first photo of this post), is 44" x 18". The perfect statement piece! They also come a bit smaller at 22" x 9", which is perfect for a gallery wall! 

California Request Order

California Request Order

          These pieces are surprisingly light, even the larger one above my desk! When I saw the size, I thought it would be a nightmare to hand up. So did Alvin! But you guys, it was probably the easiest piece we have ever hung! Kyle placed the hanging do-hicky (no idea what that thing is called) perfectly so the weight is evenly distributed. We had it up on the wall less than five minutes after I asked Alvin to do it, haha.

         As of right now he is mostly taking orders from clients. However, he just made the plunge and quit his day job to pursue his dream so you can expect the inventory to build! If you're interested in watching Wordsky Designs grow, you can follow him on Instagram here. If you want one of these pieces for yourself (or a custom design just for you), you can check out the website here


As always, if you are interested in being featured in a Shop Small Saturday post, please don't hesitate to reach out to me at minttosell@gmail.com.