
First Friday At Gather Goods
/Around here, we love First Friday. I'm pretty sure towns all around have similar concepts. A certain night of the month dedicated to celebrating local art and small businesses. Such a great concept! Alvin and I try to make it out to First Friday as often as possible. We had an especially good First Friday this October.
A quaint local shop, Gather Goods Co., had a DIY cotton wreath class to celebrate. It was such a fun, unique date night! I highly recommend following the shop and trying out some of their other classes. They make good date nights as well as girls nights :) Basically who doesn't love some cute crafts?
Oh, did I mention that they had pastries from the absolutely amazing bakery across the street?? I would be in big trouble if Yellow Dog Bakery was right across the street from me. So. Yummy.

So there we are, making mini cotton wreaths and chowing down on some delicious pastries. Poor Alvin was the only man. I guess not every guy is up for making wreaths on date night. He took it like a champ though!

It was a pretty quick class, easily done before or after a dinner date. They have many other class options that are longer for bigger DIY arts. They are also offering another quick First Friday craft for November. I highly recommend checking it out! We have our mini wreaths hanging on our gallery wall of love ;)
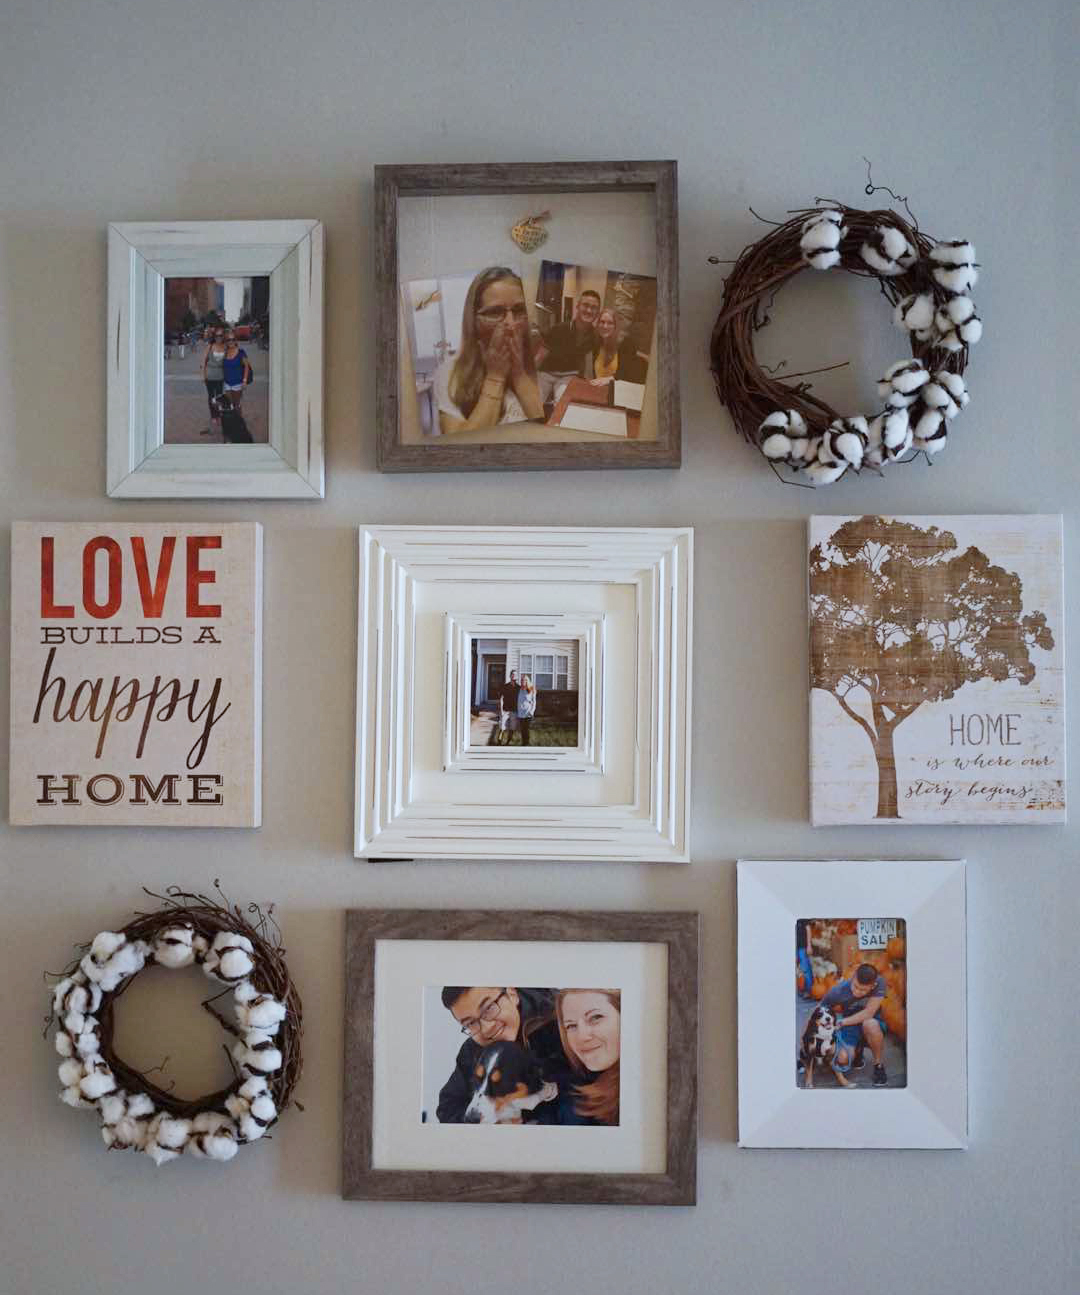
Anyone else's gallery wall perpetually crooked??

Fun date night!


