Creating A Cozy Corner At Home

MS - DURHAM RENO-142.JPG

Since we’re all spending a lot more time at home these days, now is the perfect time to create a cozy spot to curl up and relax in. A comfortable spot just for you to sip your coffee, read a book, or take a nice nap. We’ll tell you how to create that perfect space below.

PLEIADES-FINAL(12of55).jpg

These are some of the main things you’ll need to create a cozy corner in your home- First, find a space with good lighting. Whether it’s with natural light from windows or from lamps, you’ll want a well-lit space, especially if you’re planning on using your new cozy corner to read. Next, have a comfortable place to sit, like a soft, cushy chair with ottoman to put your feet up, as well as a small table to put a beverage on. Lastly, ramp up the comfort level by adding soft throw pillows and blankets. 

You can create a cozy corner in almost any room in (or outside) of your home. Some great locations are bay windows, near the fireplace, in a home library, game room, porch or bedroom. No matter what space you choose for your cozy corner, make it your oasis by adding soft textures, relaxing colors, and other things that bring you joy, such as family photos or other cherished items. 

If you’re looking to create a cozy corner for kids, use a tent to create a secret spot filled with bean bag chairs, pillows, blankets and stuffed animals. Use fun, durable and easy to clean materials. Have a shelf or basket with books, toys, and puzzles within reach. 

Do you have a cozy corner in your home? Where is it and what is your favorite thing to do there? Let us know in the comments!

Fireplace Mantel Styling Tips


IMG_4661 2.JPG

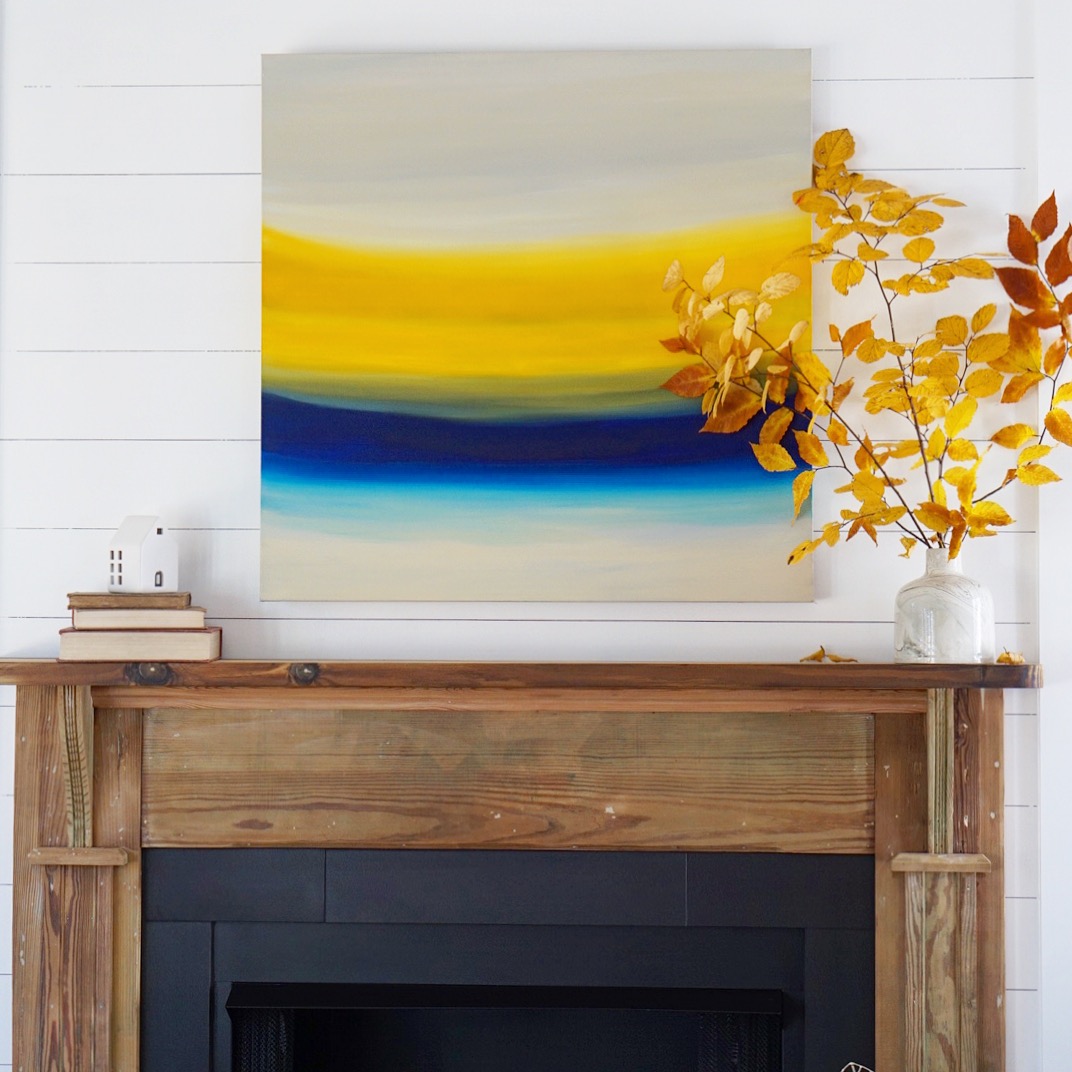
A fireplace is often the focal point of a room, but many find it difficult to decorate the mantel. The trick is to create layers to get that perfectly styled mantel you’re looking to create. 

Source: Tidbits & Twine

Layer 1 is the anchor. The anchor is a large piece such as a mirror, art, or even a flatscreen tv. This anchor piece should be the tallest object in your overall design and should fill a large portion of the space. An anchor that is too small or too big will look off. A good tip is to make sure that whatever you’re using as an anchor visually balances the firebox below.

Layer 2 is the weight. Choose items to place on both the left and right sides of your anchor that will add width and visual weight to your overall design. These items don’t need to be the same, though they can be, just as long as there is balance on both sides. Items of similar weight, size or scale can create that visual balance. For example, tall candlesticks on the left of the anchor and stacked books with a plant on top on the right. 

Source: Magnolia Market

Layer 3 is the filler. This layer is optional depending on the look you’re going for. If minimal is your thing, skip it. Otherwise, you can add objects of varying height to the center of the mantel, underneath/in front of the anchor. Keep these items smaller in scale than the objects used in layer 2, but still proportionate. 


Following the layering steps above will help you create the stylish mantel you’ve always wanted. Switch out items for the seasons or different holidays and have fun with decorating your space!


2020 Colors of the Year

Sherwin Williams has released their pick for 2020 Color of the Year and I’m super excited about it! Naval (SW 6244) is a “rich navy that creates a calm and grounding environment infused with quiet confidence.” I’ve been digging navy for a while now and I can’t wait to see more of it used in design, furniture, and decor. It’s a great, bold neutral, and it pairs well with gold accents, white marble, and greenery. 

As described on the Sherwin Williams’ website, “Giving a nod to Art Deco influences, Naval fuses the striking and bold opulence of Art Deco with the awe‑inspiring power of nature – from the infinite night sky to the mysterious depths of the sea – bringing navy out of its comfort zone to usher in an empowering new year and fresh decade of change. This deep shade evokes a prominent sense of confidence that fuses timeless color with a fresh mix of natural materials and textures that bring navy blue into a new era.”

If you’re on the fence about using such a bold color on your walls, check out the tips in our newsletter for ways to incorporate navy into your home in a more subtle way.

Source: Benjamin Moore

On the opposite end of the spectrum is Benjamin Moore’s choice for 2020 Color of the Year. They picked First Light (2102-70), a “soft, rosy hue blooming with new potential. The backdrop for a bright new decade.” It’s described as “A refreshing alternative to white or beige, First Light is a soft, airy pink that flatters any space and plays well with other colors.” Pair this uplifting color with gold accents, light wood, and greenery to keep the overall feel light and bright. 

I think pairing these two colors would look amazing! Which one do you like best?

- Kerri


Fall Home Decorating Tips

Summer is almost over and fall is on the way here in Raleigh/Durham NC! With that comes cooler temps, shorter days, pumpkin everything (yum!), changing leaves, and also, fall decorating! Here are some ideas to spruce up your space for the season. 

PLEIADES-FINAL(20of55).jpg

Add Texture

Think velvet, faux fur, and chunky knits. Thick, warm, soft materials such as these bring a coziness to your space. Items such as pillows and throw blankets are an easy, budget friendly way to incorporate texture. Add some woven baskets for stylish storage. 


Layer

Similarly to adding texture, make your space cozy and inviting by layering fabrics such as blankets, drapes, pillows and even rugs. Use items with different textures, patterns and coordinating colors for a pop of visual interest.

Incorporate Fall Colors and Patterns

When I think of fall, I think of patterns like plaid and colors like burnt orange, burgundy, gold, forest green and brown. Bring these colors and patterns in to your space through art and accessories, pillows and blankets. Luckily Target, HomeGoods and even Michael’s makes this extra easy on you!

IMG_4661.JPG

Bring Outdoor Elements In

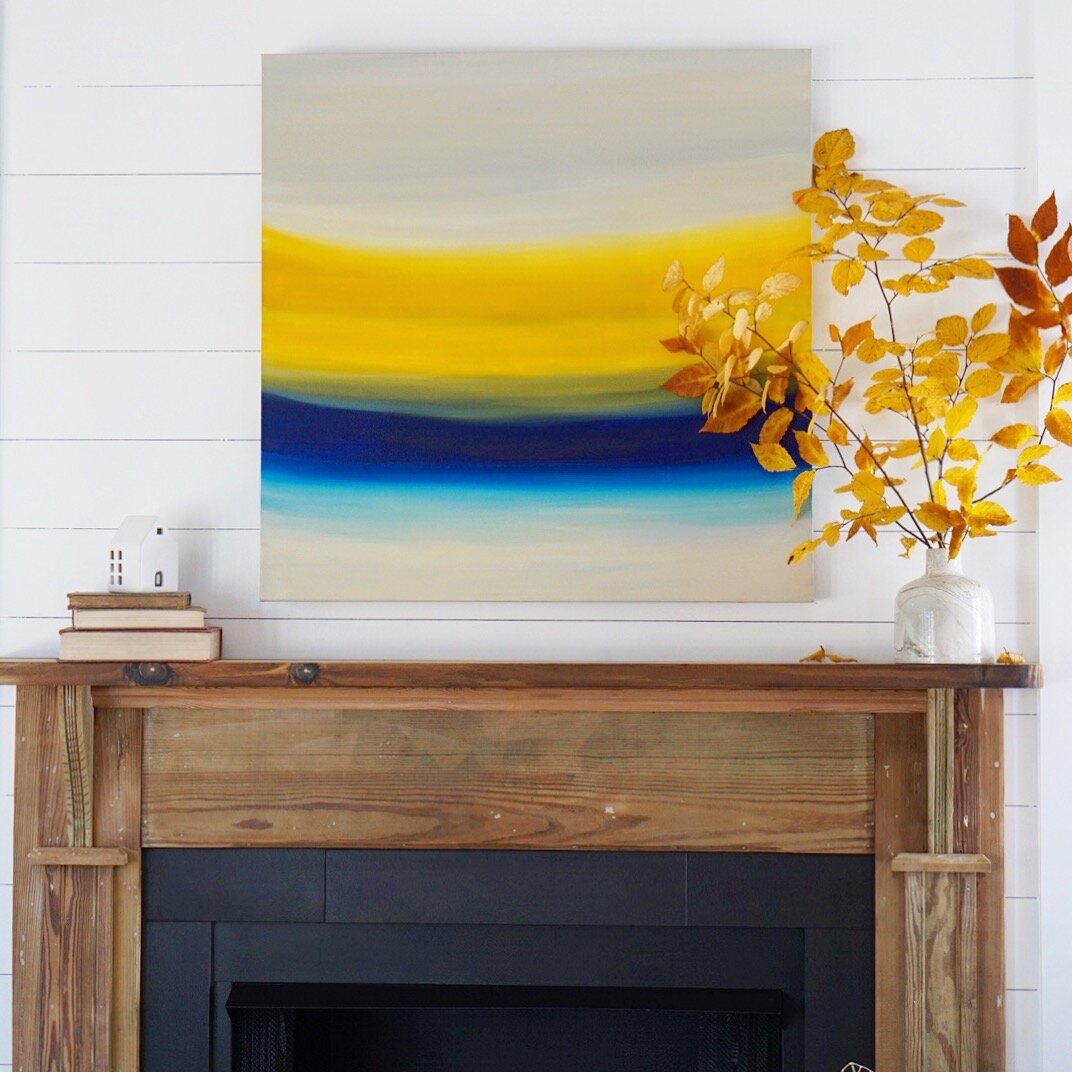
Glass vases with stems and greenery from the trees outside, pinecones, leaves, and small gourds are perfect to create a fall inspired feel inside your home. The best part is you can find most of this for free in your own yard! Or enjoy a fall scavenger hunt by going on a family walk.


Do you have any fall decorating tips we haven’t mentioned here? Let us know in the comments!

- Kerri


Product Review: Nuvo Cabinet Paint

As we mentioned in last month’s blog post, we often tell occupied home staging clients that updating their home will help with the sale. One update that has a big visual impact is the cabinets! Now, I’ve already painted our kitchen cabinets when we moved in. That said, recently I have been eyeing some beautiful navy cabinets on Instagram. Alvin was not on board with painting our kitchen cabinets again (who could blame him?!) but the bathroom cabinets were fair game!

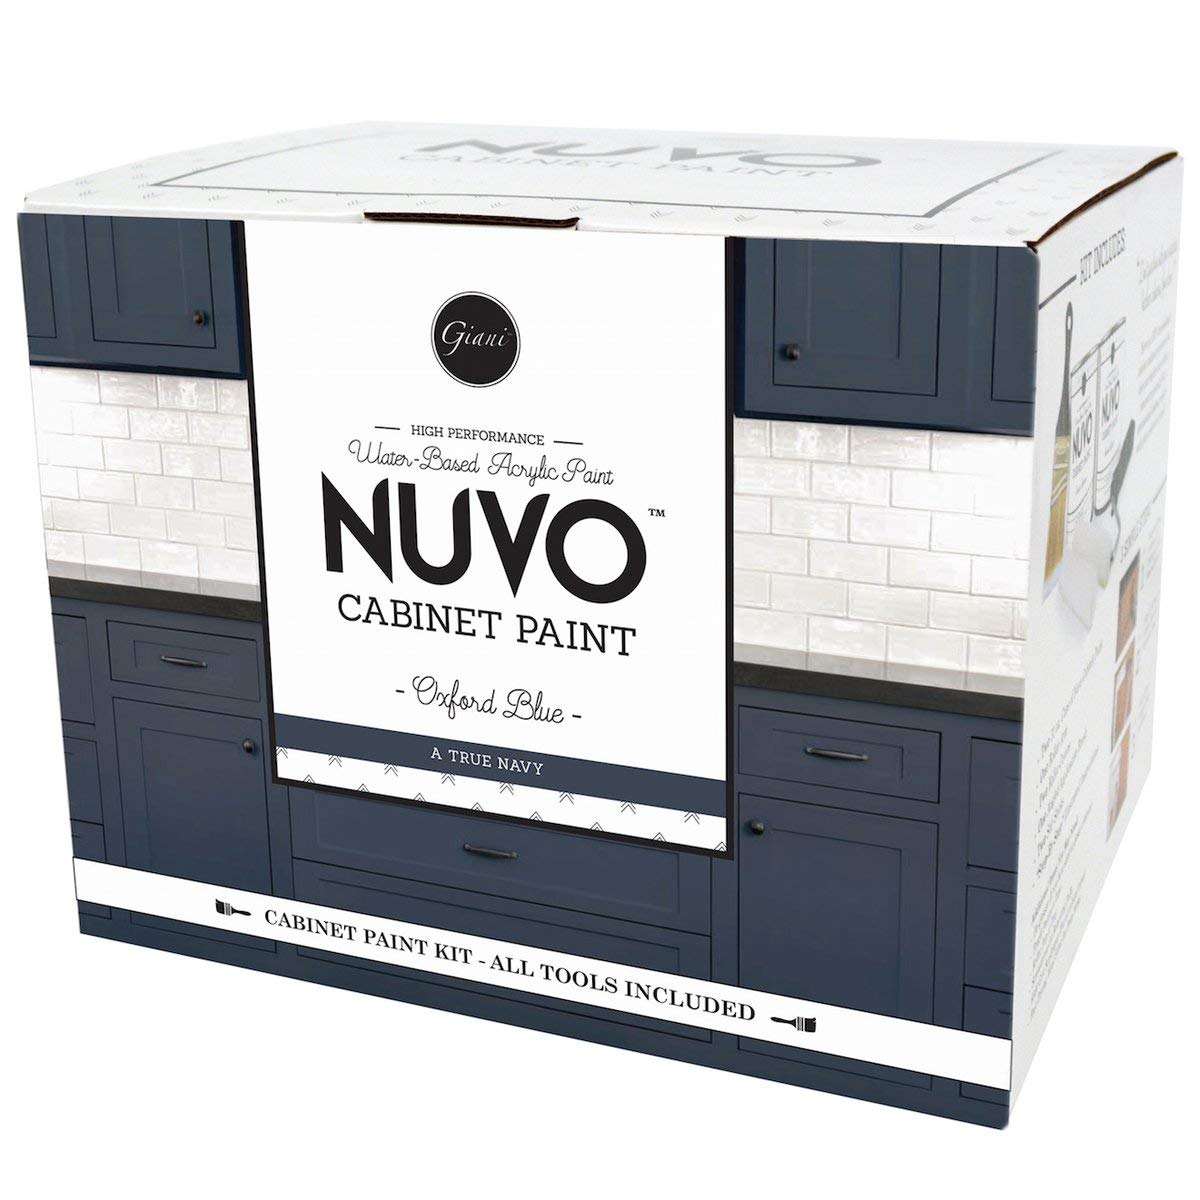
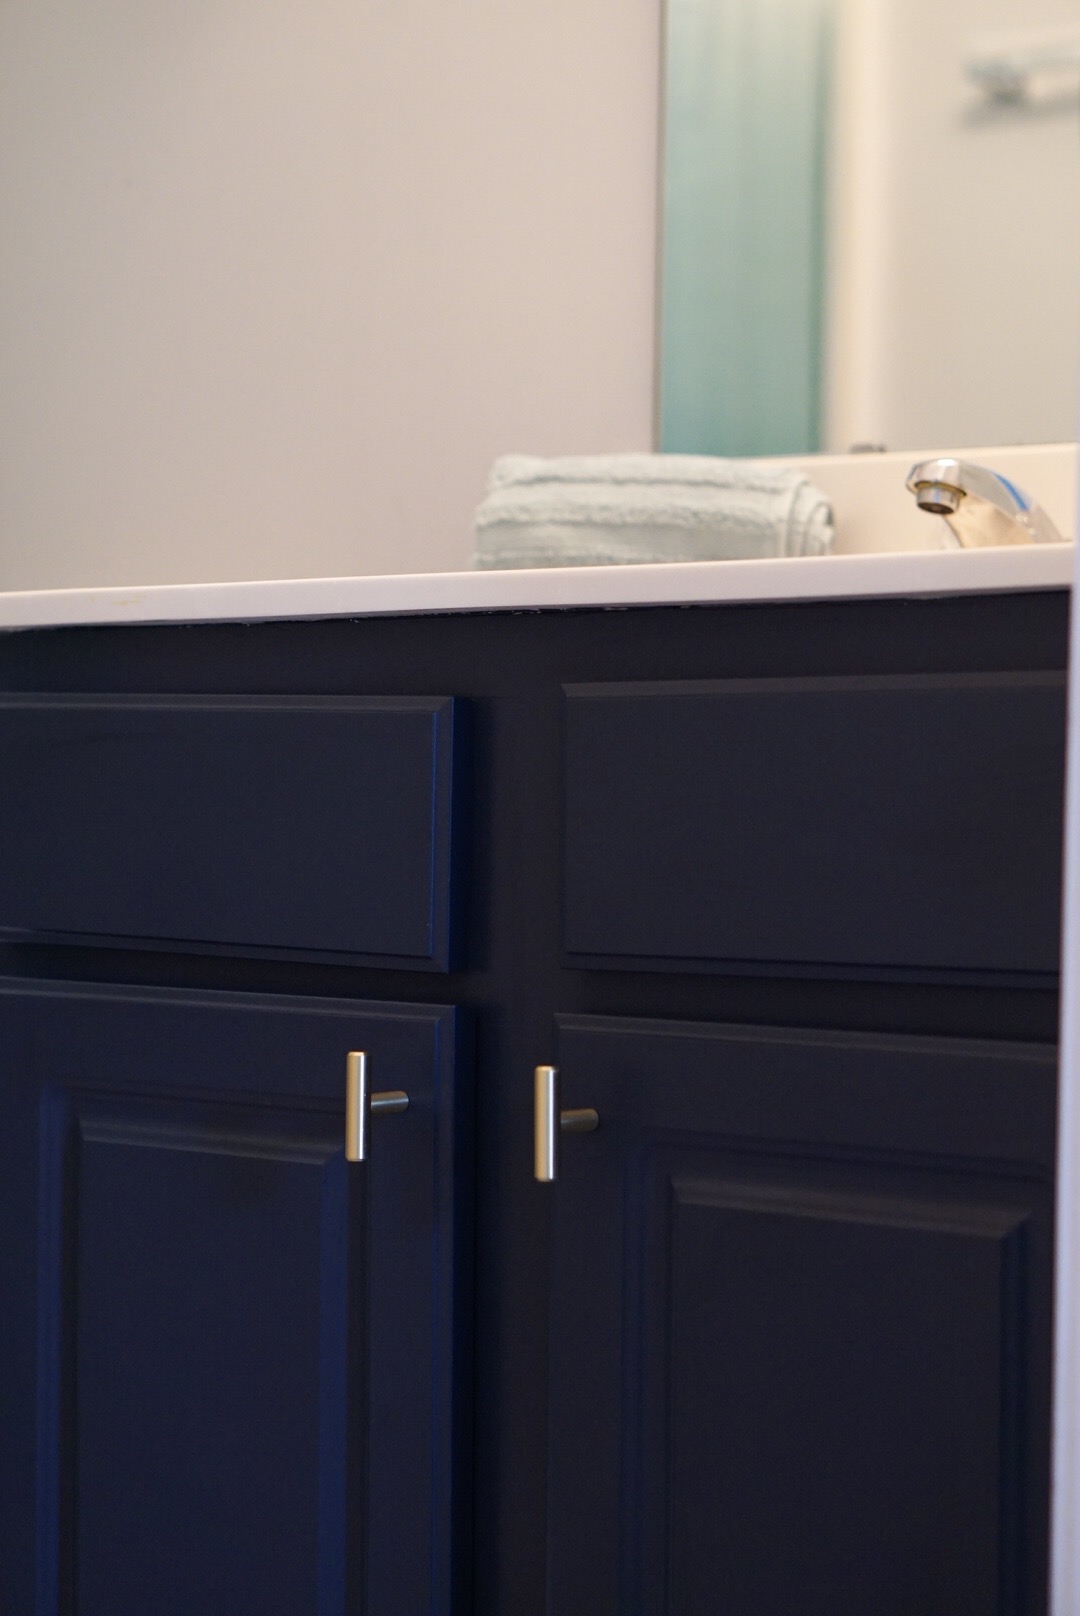
There is this product on Amazon that I recommend to our clients who could benefit from a cabinet update but don’t want to (or can’t afford to) install new cabinets or have them professionally painted. It’s called Nuvo Cabinet Paint. It comes in multiple different colors, all of which are currently popular for cabinets and claims you can complete an entire kitchen in a weekend or less. I went with Oxford Blue for a bold look in our small space.

Nuvo Cabinet Paint.jpg

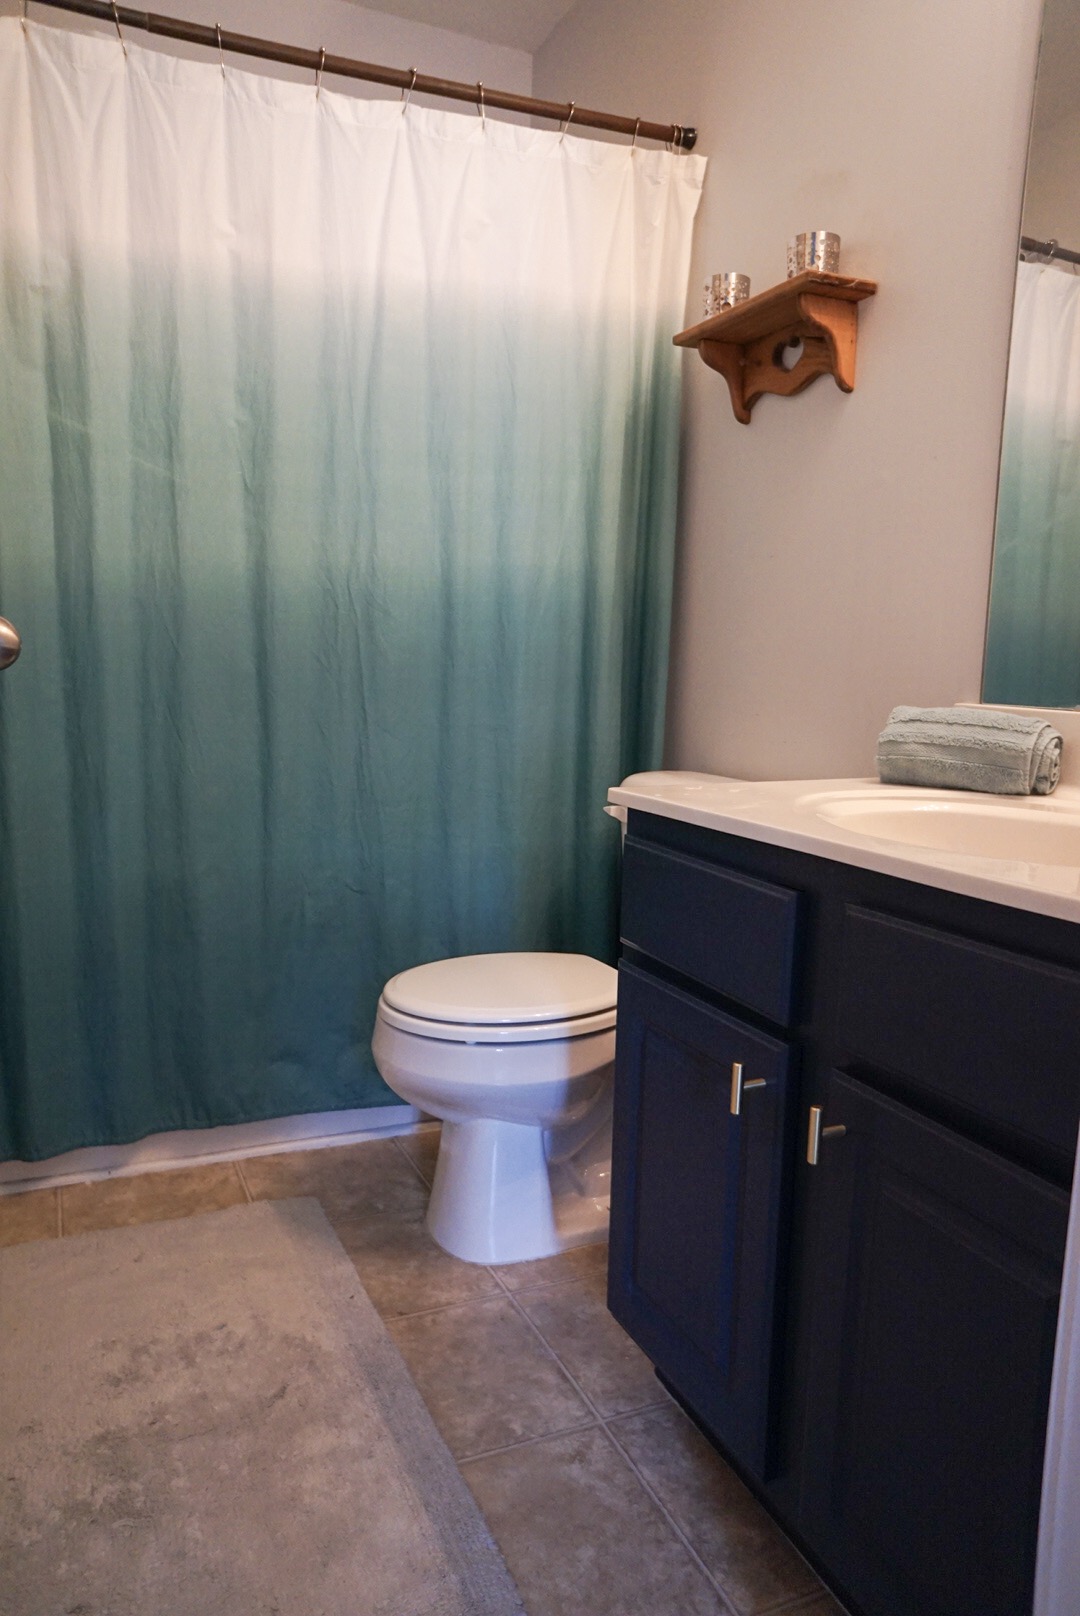
The kit comes with everything you would need, but I already had a ton of painting tools except the paint so I just ordered the single quart. I used our mouse sander on the old cabinets to give the paint a rough surface to cling to. It’s worth noting that the bathroom cabinets had a laminate surface, which made me a bit nervous that the paint would chip right off. You can see below what we started with.

IMG_7832.jpg

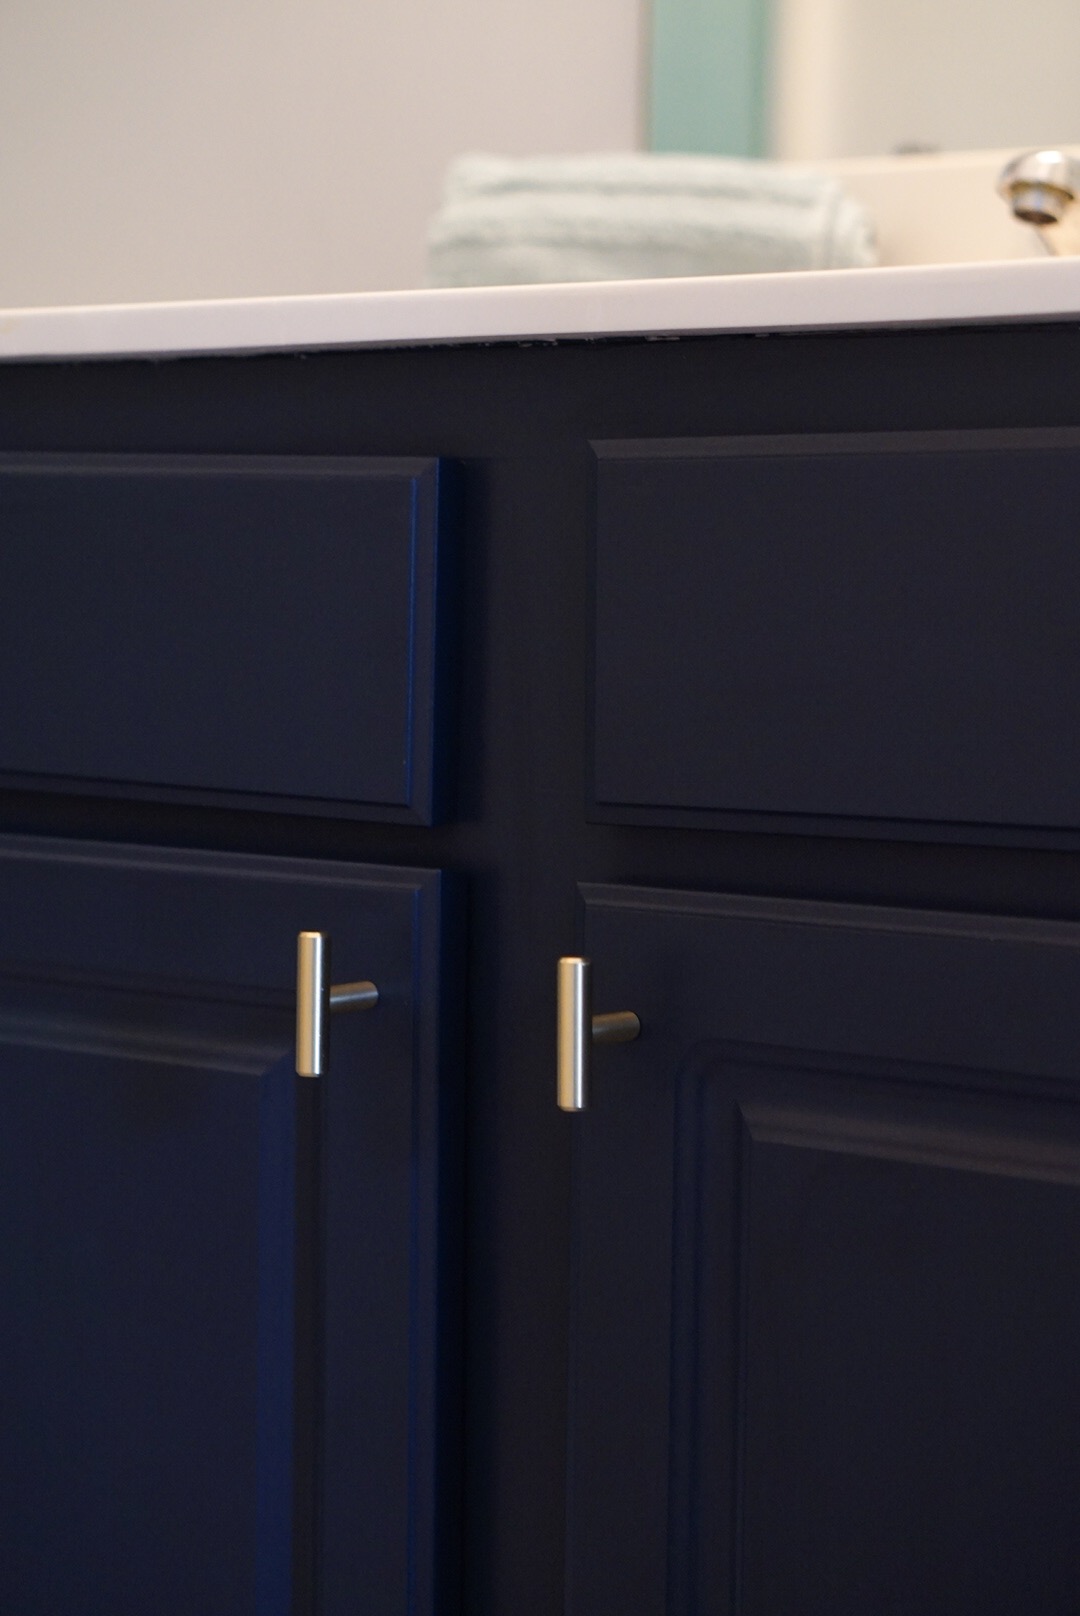
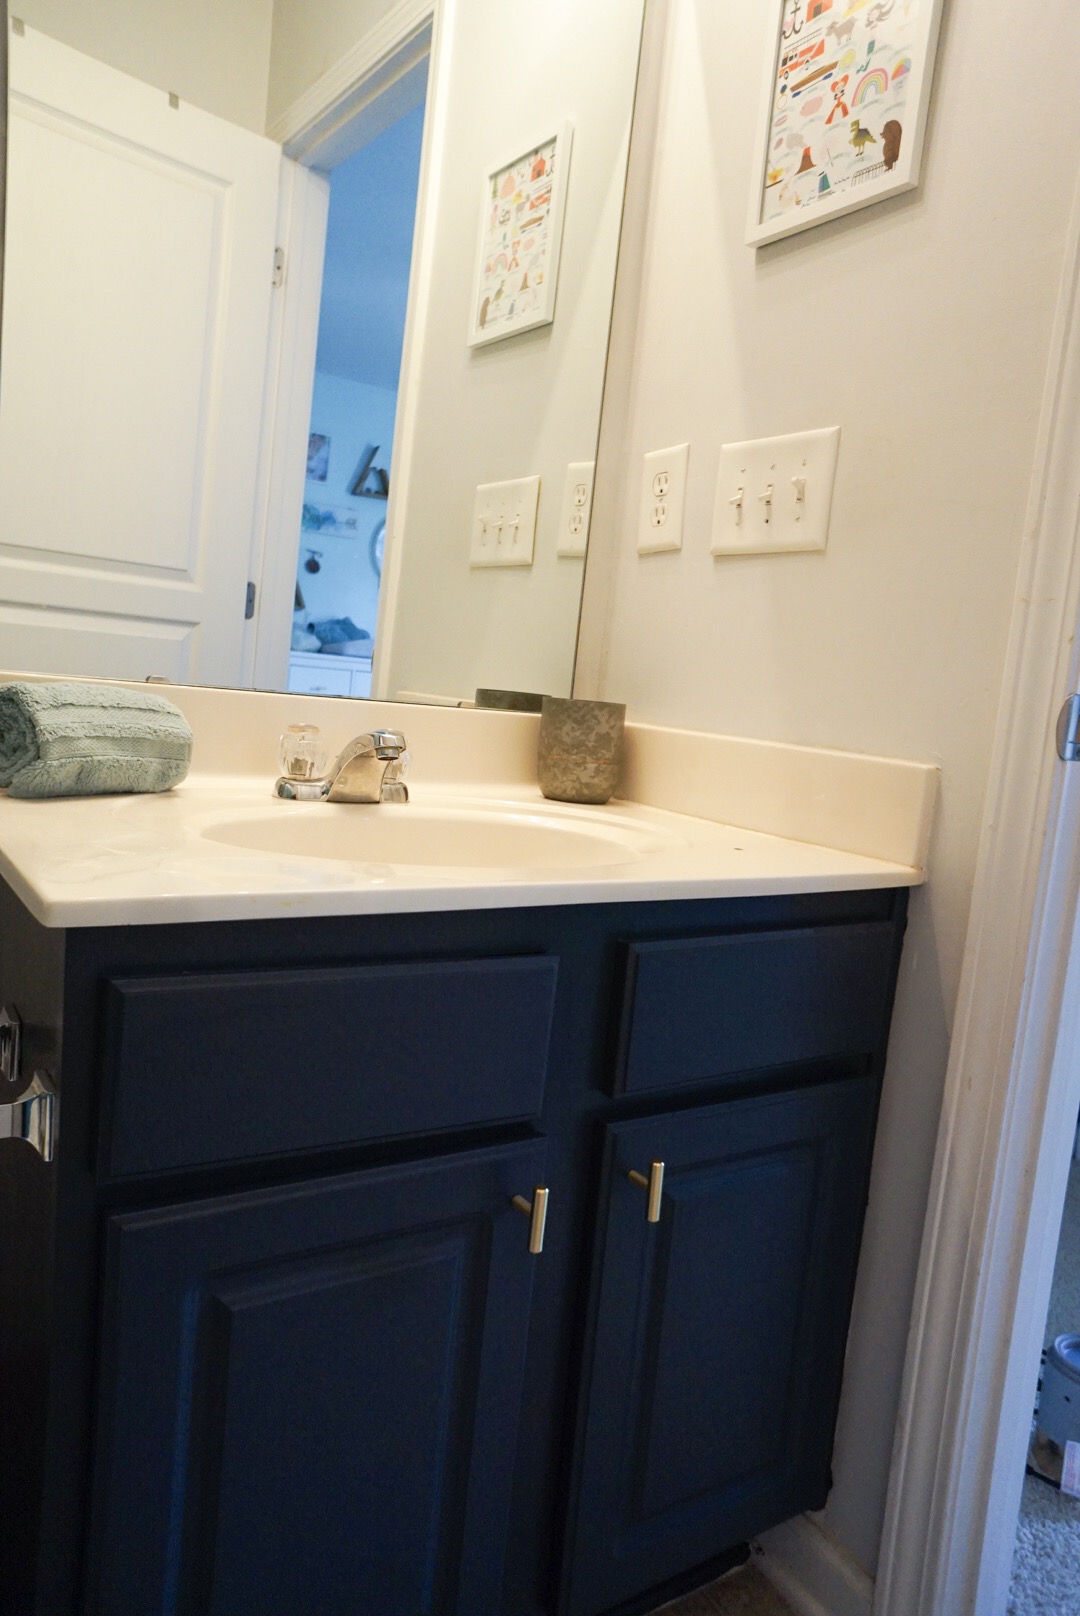
Luckily, the little bit of sanding I did did the trick! In just an hour we had brand new (looking) cabinets! This includes the time I spent sanding and removing the hardware. The paint dried quickly so I was able to apply the second coat as soon as I finished the first one. Based on this timing, it seems completely reasonable to think you could complete a kitchen in a weekend. I’m also happy to report that it has been several weeks since I completed the painting portion of the project and there have been no chips! Ta-Da!!

Since I wanted a more complete updated look, I also added new cabinet pulls. I ordered these ones from Wayfair and LOVE them. I’ve also added them to Atti’s dresser and our bathroom cabinets. Eventually I will be painting our cabinets with the Nuvo paint as well.

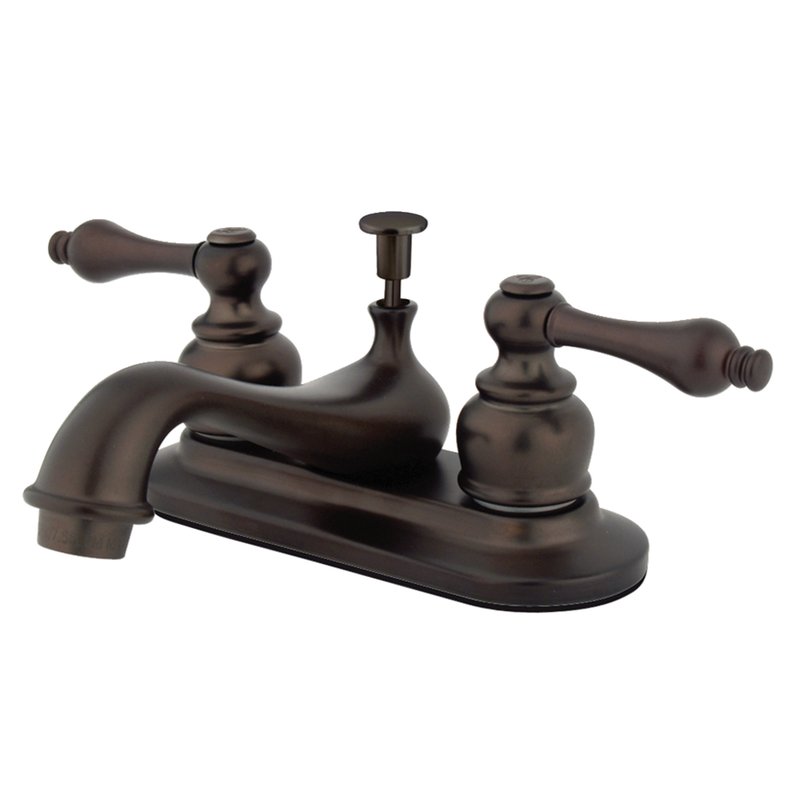
Other updates I’ll slowly chip away at are vanity lights, faucet, and new vinyl tile. These are the ones I’m currently eyeing.

If I were to break the costs down it would be:

  1. Paint: $32 (covers both bathrooms)

  2. Knobs: $1.80 a piece, $3.60 total for this bathroom

  3. Floor Tile: $1.20/sf, ~$20 total for this bathroom

  4. Faucet: $56

  5. Vanity Light: $84

  6. Total: $195.60


Overall, not bad! This is a very budget friendly way to give your cabinets and bathrooms a quick update whether you’re planning on listing your home or loving it!